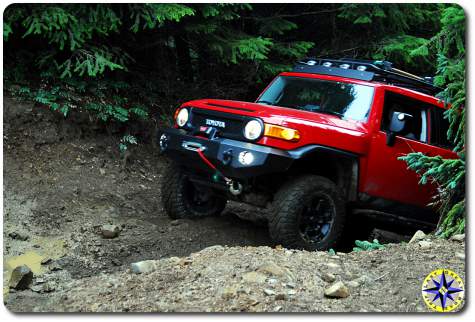
 Everyone who owns and FJ Cruiser knows how difficult it can be to judge distance when backing up. Little cars that sit below your line of site which are impossible to see and make parallel parking hell. Luckily Toyota added a Toyota parking assist system to tell you when you’re getting close.
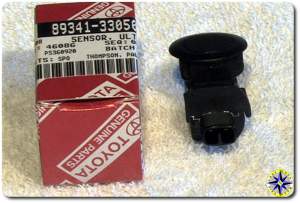
Awhile back we ran into a little trouble with our sensor… so to speak… And as a result, needed to replace the back up sensor on the passenger side. After a quick trip to our local Toyota dealer for the part it was time to play back yard mechanic.
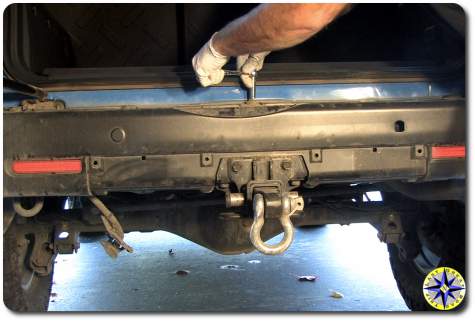
With the advent of snap together components, replacing sensors is usually an easy operation. And this was no different. In fact we spent most of our time 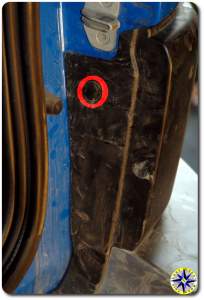 unbolting the plastic bumper cover to get to the sensor location. All of the bolts can be removed with an 11 mm socket. A flat head screw driver is helpful for unplugging the sensor coupling as well as the plastic pop snap on located inside the back door edge on the side of the bumper cover.
We started at the bottom and worked our way up. Note: We removed the metallic bumper cover so we could pull out the black cover further for pictures. You should be able to leave it in place and simply remove to screws holding the back bumper cover on the bottom side. There are a total of six bolts holding the bumper cover to the underside of the bumper. Four along the base of the bumper and one on each back corner. These last two are set into little plastic clips and keep the bumper corner covers in place.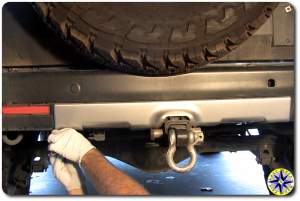
You will have to open the back door to access the four bolts on the top of the bumper cover. You will also find a sneaky little button fastener where the bumper cover wraps into the back door. A flat head screw driver will lift it out easily.
The old cruisers had panels welded and riveted in place. Enter the era of ABS plastics. To remove the bumper cover after you’ve unbolted everything and pulled the little button snap; follow the cover around the corner where it meet up this the fender and give it a strong, even pull away from the truck. It is held in place with ABS plastic snaps that will release their grip with a little force. Since we were only replacing one of the sensors we only removed the passenger’s side.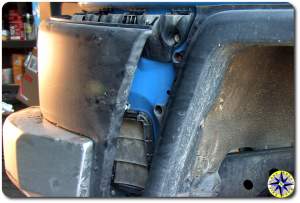
Now it was simply a matter of pulling the cover away from the bumper enough to unplug the old sensor, slide in the new one and connect it to the two wire plug. It really is that easy.
After hooking up the sensor and before bolting it all up, we tested the sensors to ensure everything was connected correctly. Even though we only replace one sensor, we check both to make sure we had not pulled any wires loose in the process.
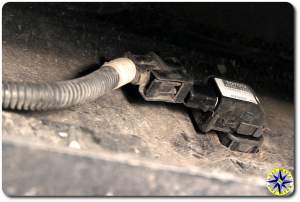 Once we were sure every thing worked, it was simply a matter of buttoning it all up with the bolts we had removed four on top, six underneath and that one little button snap.
The backup sensors help you gauge distance but will never substitute for using your mirrors and knowing what is behind you before you put it into reverse.

