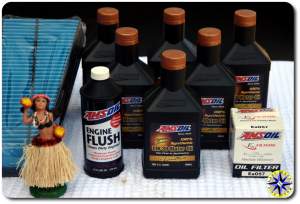
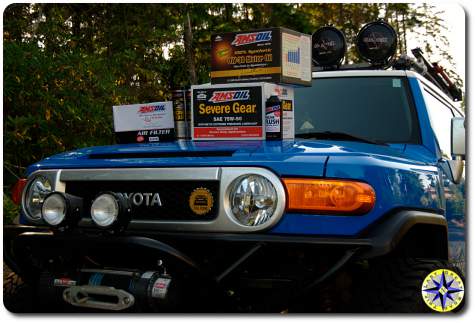
 One of our off-road adventure friends, Beau Jaramillo, from Amsoil, sent us a care package that included:
- Ea Oil Filters
- Signature Series 0W-30 100% Synthetic Motor Oil
- Ea Air Filters
- Engine Flush
- Severe Gear 75W-90
- Series 2000 Synthetic Racing Grease
With the Rubicon off-road adventure coming up, this was the perfect time to change the oil. Engine oil has the primary functions of lubricating and cooling the inside of the engine, and plays a major role in maintaining the engine in proper working order. Changing the engine oil on the FJ Cruiser is an easy maintenance activity that will extend the life of your rig’s engine more than just about anything else you can do.
What will you need to change your oil:
- 5.5 quarts Oil
- Oil filter
- Oil plug gasket
- 14mm socket
- Oil filter wrench
- Oil drain bucket
- Empty soup can (tomato is my favorite)
- Engine flush (optional)
- Latex gloves (recommended)
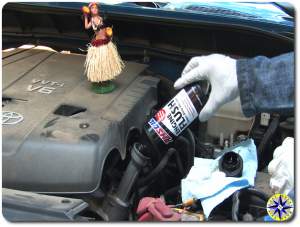
Since the rig’s odometer reads over 50K we decided to clean the engine from the inside out with Amsoil’s Engine Flush. It doesn’t get much easier than this; just pore the contents into the engine and let the rig idle for 15 to 20 minutes. Than change out the oil as normal.
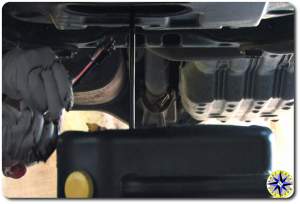 It is best to change the oil when the engine is warm. This will help suspend the muck in the oil and allow everything to flow out smoothly. This also means you need to be careful since everything is hot.
The first step is to remove the oil drain plug (fancy name for a bolt and gasket) with a 14 mm socket. Be sure to have your oil bucket ready and a couple pieces of cardboard under everything will keep the mess to a minimum. After the oil starts flowing is a good time to take a break… come’on you’ve been working hard and the oil will take a while to completely drain.
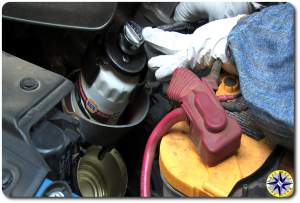 When the oil is coming out in only drips, remove the oil filter. The oil filter may still contain old dirty oil that will run out when you remove it and this is where that soup can comes into play. Hold the soup can under the oil filter assembly to catch the oil that flows out. The assembly has a little tube that allows for you to hook up a hose and drain the out flow to your oil catch bucket, but a old soup can held in place works too.
STOP… get back under the rig now and using a new oil plug gasket, put the oil drain plug back into the oil pan (Toyota recommends 30 ft / lbsf torque for the oil drain plug). You really don’t want all that fresh oil running down the driveway.
 With the new oil filter in hand, take a dab of fresh motor oil and wipe it lightly on the oil filter’s rubber ring seal. Screw the new oil filter onto the union (fancy name for the hollow tube the oil filter attaches to) by hand. Be careful not to get the oil filter cross threaded on the union. This is a good time to wipe down any oil that may have spilled and double check that the oil drain plug is in place.
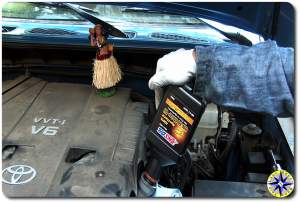
The Toyota owners manual will tell you the oil capacity is five and one half quarts, that’s 5.2 liters to you and me. Now depending on your aim you may want to use a funnel to minimize the mess when poring the motor oil into the oil fill spout. Toyota recommends SAE 5W-30 weight motor oil. Thanks to Beau we upgraded with AMSOIL Signature Series 0W-30 100% Synthetic Motor Oil. AMSOIL Signature Series claims an extended life with recommended changes at: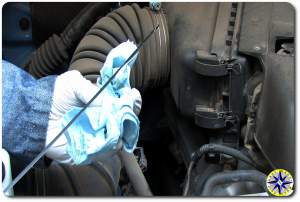
- Normal Service (personal vehicles frequently traveling greater than 10 miles (16km) at a time and not operating under severe service) – Up to 35,000 miles or one year, whichever comes first
- Severe Service (turbo or supercharged vehicles, commercial or fleet vehicles, extensive engine idling, first and subsequent use of AMSOIL in vehicles with over 100,000 miles, daily short trip driving less than 10 miles (16km), frequent towing, plowing, hauling or dusty condition driving) – Up to 17,500 miles or one year, whichever comes first
Once you pour in the 5.5 quarts of oil and replace the filler spout cap, start the engine and allow the rig to idle for a minute, than turn off the rig and check the engine oil level. The correct way to check the oil level is to park the rig on level ground, allow it to sit for a minute, remove the dip stick, wipe the dip stick off with a clean rag and re-insert it as far as it will go. Pull out the dip stick and read the oil level.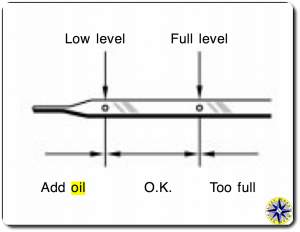
The final thing to check is for any drips coming from the oil drain plug or oil filter. It’s not likely but a second look is well worth it.
When changing your own oil, don’t forget to check the other fluid levels (brake, power steering and coolant) and top off the windshield washer fluid. This is also the time to change the engine’s air filter and check your tires’ air pressure.

mina always takes 6 qts exactly to full…